You don’t have to look far into current trends before you see a jumpsuit. They are everywhere … celebrities are rocking them … they are all over the fashion blogs. And why not? Whether you call it a jumpsuit or romper. Whether the length is short, capri, or long? Whether the legs are wide or skinny. The jumpsuit is in. And of course, they are in the world of sewing.
For example, Thanks I Made Them just made two contributions to the world of jumpsuits, here and here. And funky fresh Ooona made this awesome creation, which is a maxi dress but kinda with pants, but still flowy and fun. And Sew Country Chick has this one … I love the graphic print.
With all this inspiration, when my ASG group decided to play in the world of Jumpsuits and sew up McCall’s M6083. I jumped at the chance. (Didn’t even see that one coming did you?) Ha! 😆 Well maybe you did.
Do you have this problem? When I go into a retail store I can usually spot what I like. I try it on and if I like it, I buy it. It’s not that way with sewing garments. Sometimes I struggle with seeing a pattern’s potential. This pattern, I wasn’t sure about from the beginning. One thing I know about myself is I’m petite and short-waisted. I don’t need anything that will make my look shorter. Also … if I’m being completely honest. Most of my extra weight I carry on my waist … thighs … and hips. I don’t want anything to highlight that. My concern in sewing this pattern was that this pattern would highlight those areas of my body, I would rather disguise.
With those fears I went into this pattern knowing I would need to select a fabric that would lengthen me vertically. And I wanted to take some of the bulk out of the bodice so my middle wouldn’t appear larger than it is.
So let me take you down my winding road of pattern adjustments and my 3 test garments.
Test Garment #1
Using my measurements against the pattern measurements, I sewed a bodice size 18 grading out to a size 20 at the waist. I didn’t want the shoulders to be too bulky … enhanced by the gathers, so I adjusted the shoulder length by 2 1/2”. I cut the pants out in a size 20 as well. Based on the pant measurements, I adjusted the crouch depth by 1 1/2”, and the pant length by 4”.
I tried this on – still too bulky. I sewed this test garment in regular muslin fabric, and it reminded me of the Stay Puft Marshmallow Man. Even belted it was too bulky. I started doubting this was the jumpsuit pattern for me, but I still pushed on to test garment #2.
Test Garment #2
I put my math skills to work, my measurements plus ease. After seeing test garment #2 in my frame, I thought this would be a better silhouette on me if I removed as much of the bulk as possible, and made it closer fitting to the body. So I adjusted down to a size 14 bodice grading out to a 16. After I sewed the bodice, I tried it on and it fit PERFECTLY. Sewed the pants in a size 16 grading to an 18 at the hips. I tried the pants on they fit PERFECTLY. So of course I sewed them together expecting I would have a perfectly tailored garment.
This is where my newness as a sewer comes to light. When I tried on my sewn together jumper, I quickly found out it wouldn’t go over my hips. Yes, this is a step into garment. And I was STUMPED. How, how, how was I going to get around this problem? My bodice fit perfectly. The pants fit perfectly, the problem was since it is one piece … and since I’m smaller on top it wouldn’t go over my hips. I was stumped for a few days. Pacing around my living room. Looking at the pattern. Looking at the jumpsuit. I had a perfect fit, but there wasn’t a way for me to put it on. It was CRAZY!
Before you go into problem solving mode read on!
Test Garment #3
With that I started Test Garment #3 and made additional adjustments. My thought process was … and I’m giving you my thought process because even though I asked you not to go into problem solving mode … you probably did. My thought process was … okay … I’m going to have to toss out my idea for a close fitting jumper, I’ll have to make the bodice large enough to slide over my hips and still look good. So that’s what I did. I adjusted the bodice, made a new that 3rd test garment.
This time I made the bodice a size 16 grading out to a 18. The faux wrap, I made larger than recommended on the pattern. This version I could get over my hips. And the fit was just ok. When I looked in the mirror is said … meh. There was still too much fabric in the bodice for my personal taste.
Sidebar:
Now this is where I really should have done some research. But here I was … knee deep in this pattern and I had blinders on. I was so focused on making it work. I was two test garments down … the third one was just meh. And I was trying to at least get the muslin fitted before my next meeting. With that, I needed to proceed with the pattern. I’d already cut into my fabric and was two-thirds of the way through completing this garment when I came across a vintage jumper pattern with guess what? A freaking zipper in the back.
Why didn’t I think of that?

I was and still am mad about it. Even as I’m typing I’m getting mad all over again. Why didn’t I think of the zipper? It wasn’t as if I had friends that hadn’t done the same … installed a zipper in the back of a garment that didn’t require one. I’ve also seen it on a few blogs. I was just so caught up … I didn’t think of it.
Sigh … now I’ll always wonder what my jumper could have been.
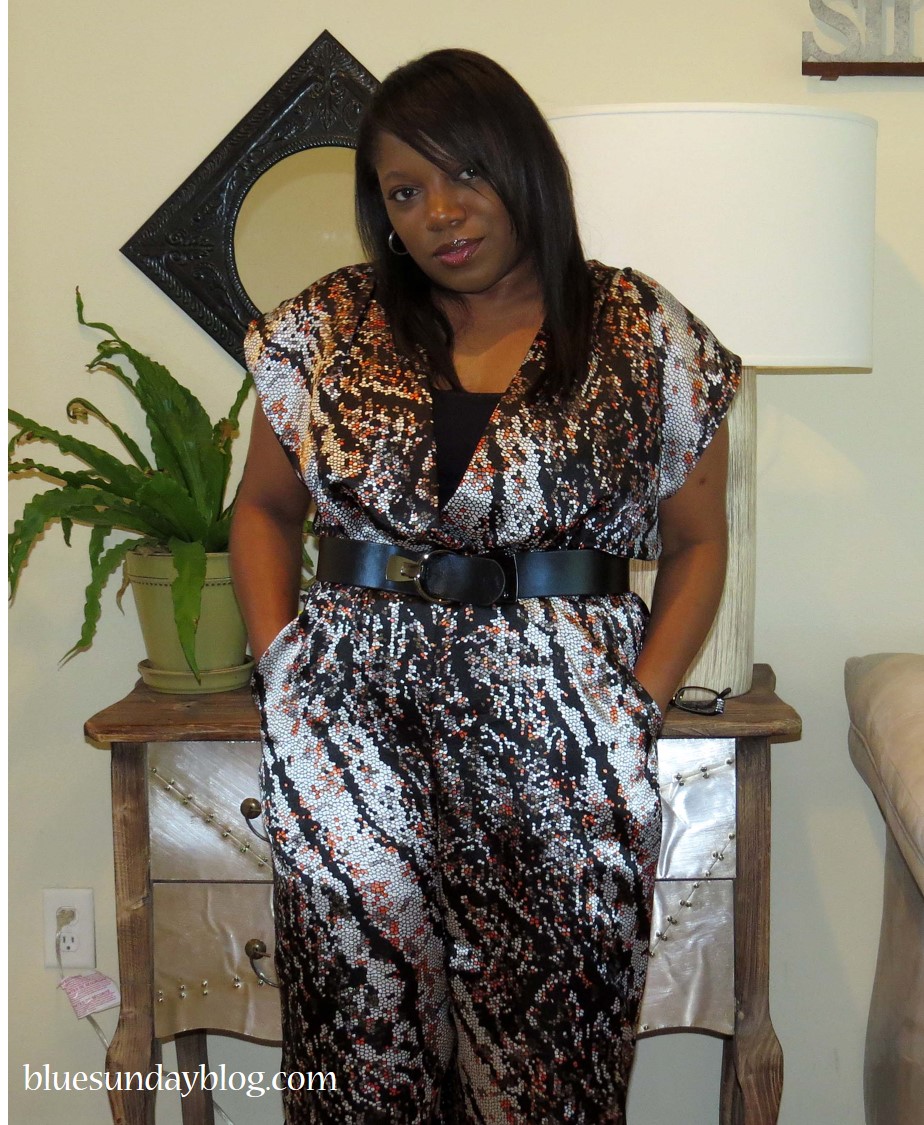
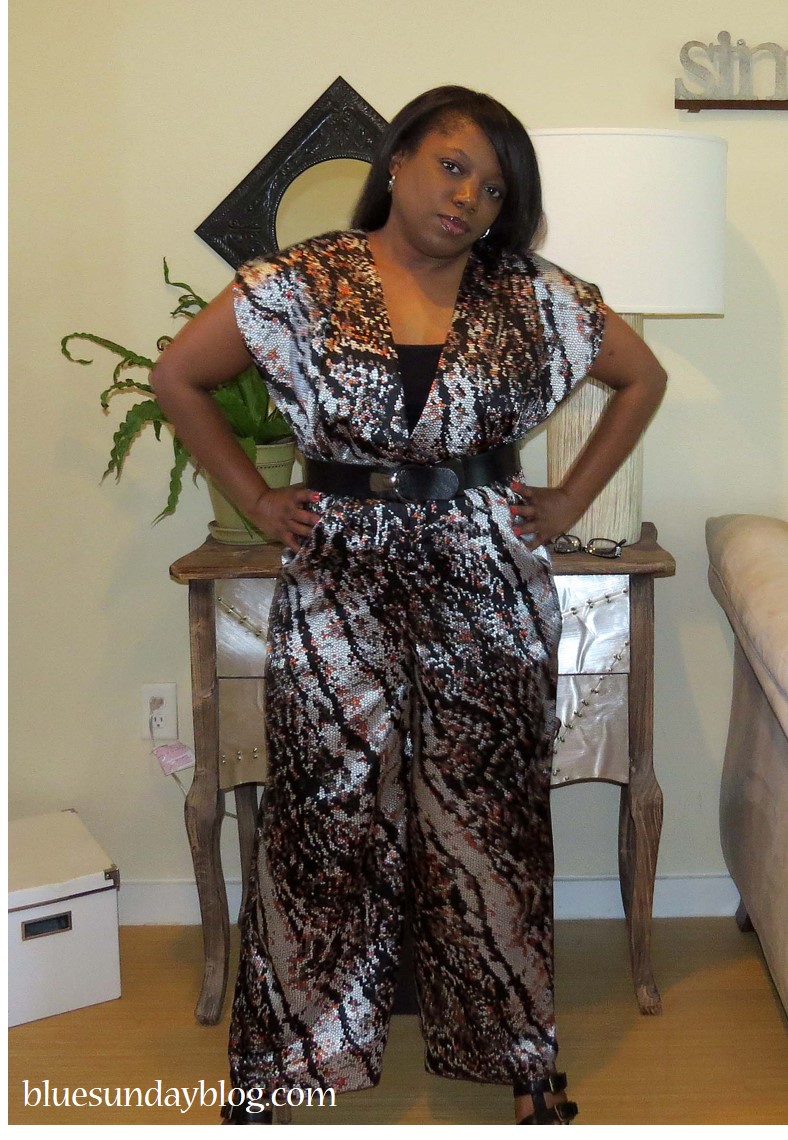
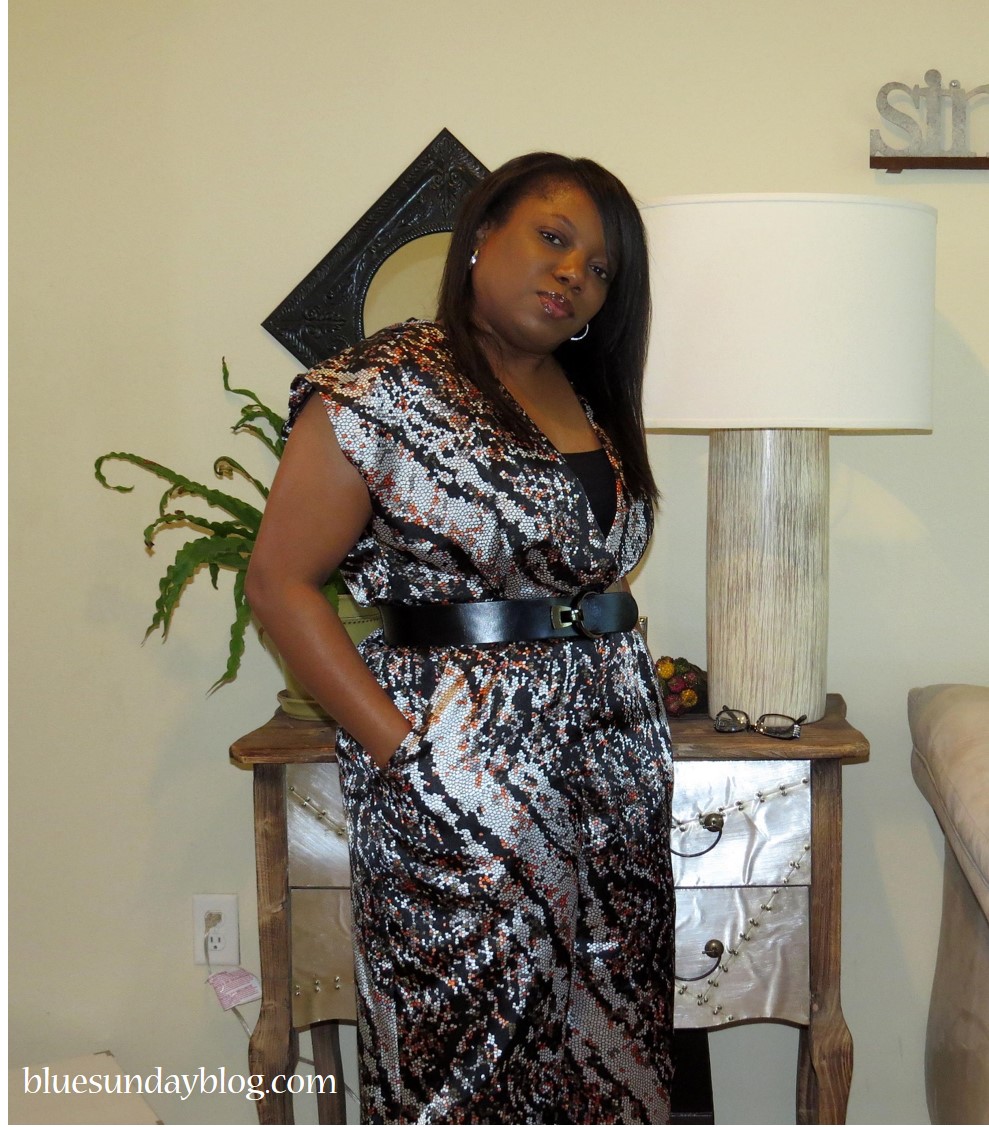
My favorite thing about this garment … the fabric, pockets, and the wide leg. I purchased the fabric 2 years ago and I’ve been waiting for the perfect pattern. After sewing this up … I’m not sold on the fact I chose the right pattern. In the photos, I admit it comes across as a bit sci-fi (shiny), but I love the diagonal print.
So now I have a finished garment that when I look at it in the mirror I think … meh. When I wear it I’ll think meh. When I was selecting the photos for this blog I thought meh. And I’ll always wonder if it would have been … in a word … fantastic, if I would have thought of the zipper. I know what you’re thinking. Just take it apart and add the zipper. Nah, not gonna do it. After 4 versions, I’m DONE with this jumpsuit and sticking a fork in it. Now you know where I stand on this particular pattern and now I think I’m backing away from the jumpsuit. I don’t even know if I want to try another jumpsuit pattern. Wah! Wah! Wah!
How about you? Are you loving jumpsuits enough to sew one up?

I like your finished jumpsuit! I say don’t worry too much about what could have been – you made it work, and that’s that matters! 😉
Thanks Gillian! I appreciate it! You’re right, I had a Tim Gunn moment! Ha!!
Love it! 🙂 gorgeous!
I love your jumpsuit! I cannot believe you made so many; you kept at it with a great result! Thanks for the shout outs on my jumpsuits 🙂 You will notice my first was a flop, but my next two were great. I say, step away and revisit later. You may find you love the next one.
Thanks Bianca! You’re right, I’ll probably be craving another attempt soon!!
Your first jumpsuit! You did great. Keep up the good work.