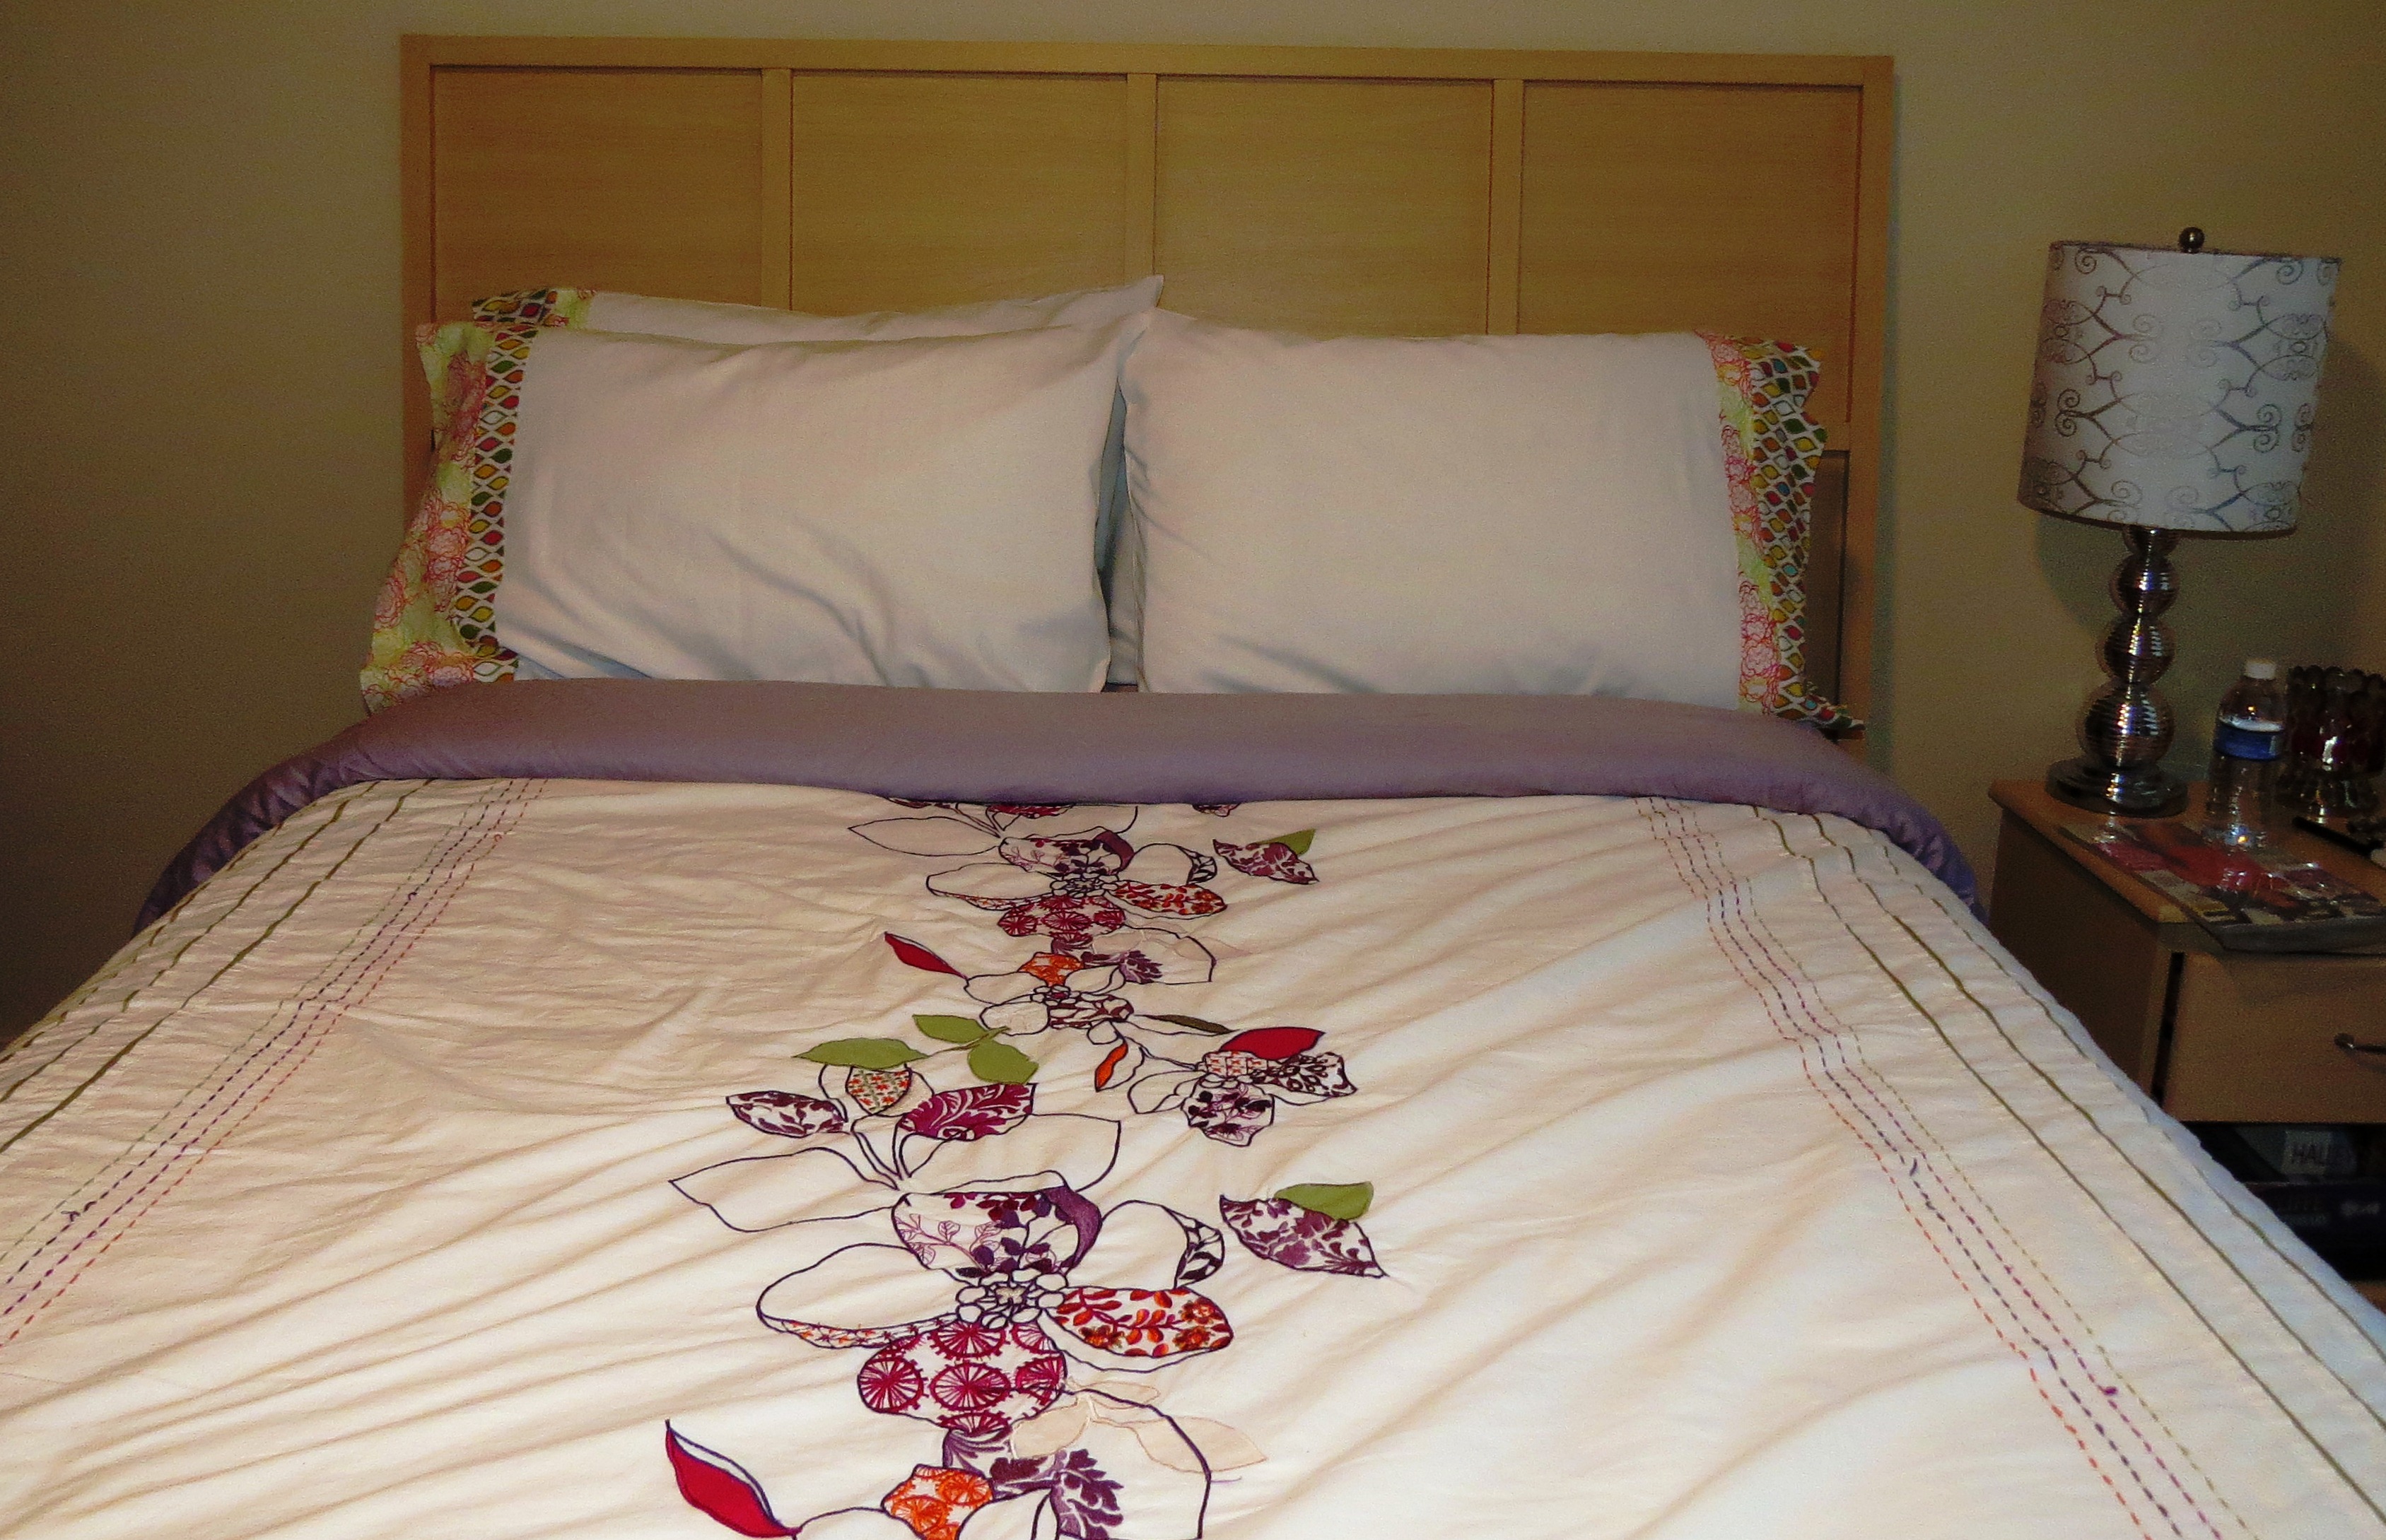
Pillowcases are not only a simple starter project, but a nice start to a bedroom redo.
I know it’s been a while since I’ve posted but I’ve been working and sewing! I’m excited to share my first project. In my quest to learn everything I can, I’ve decided to go back to basics. And I mean THE BASICS. And though my new project is considered simple in the realm of sewing, it was the perfect opportunity to practice the fundamentals of good sewing.
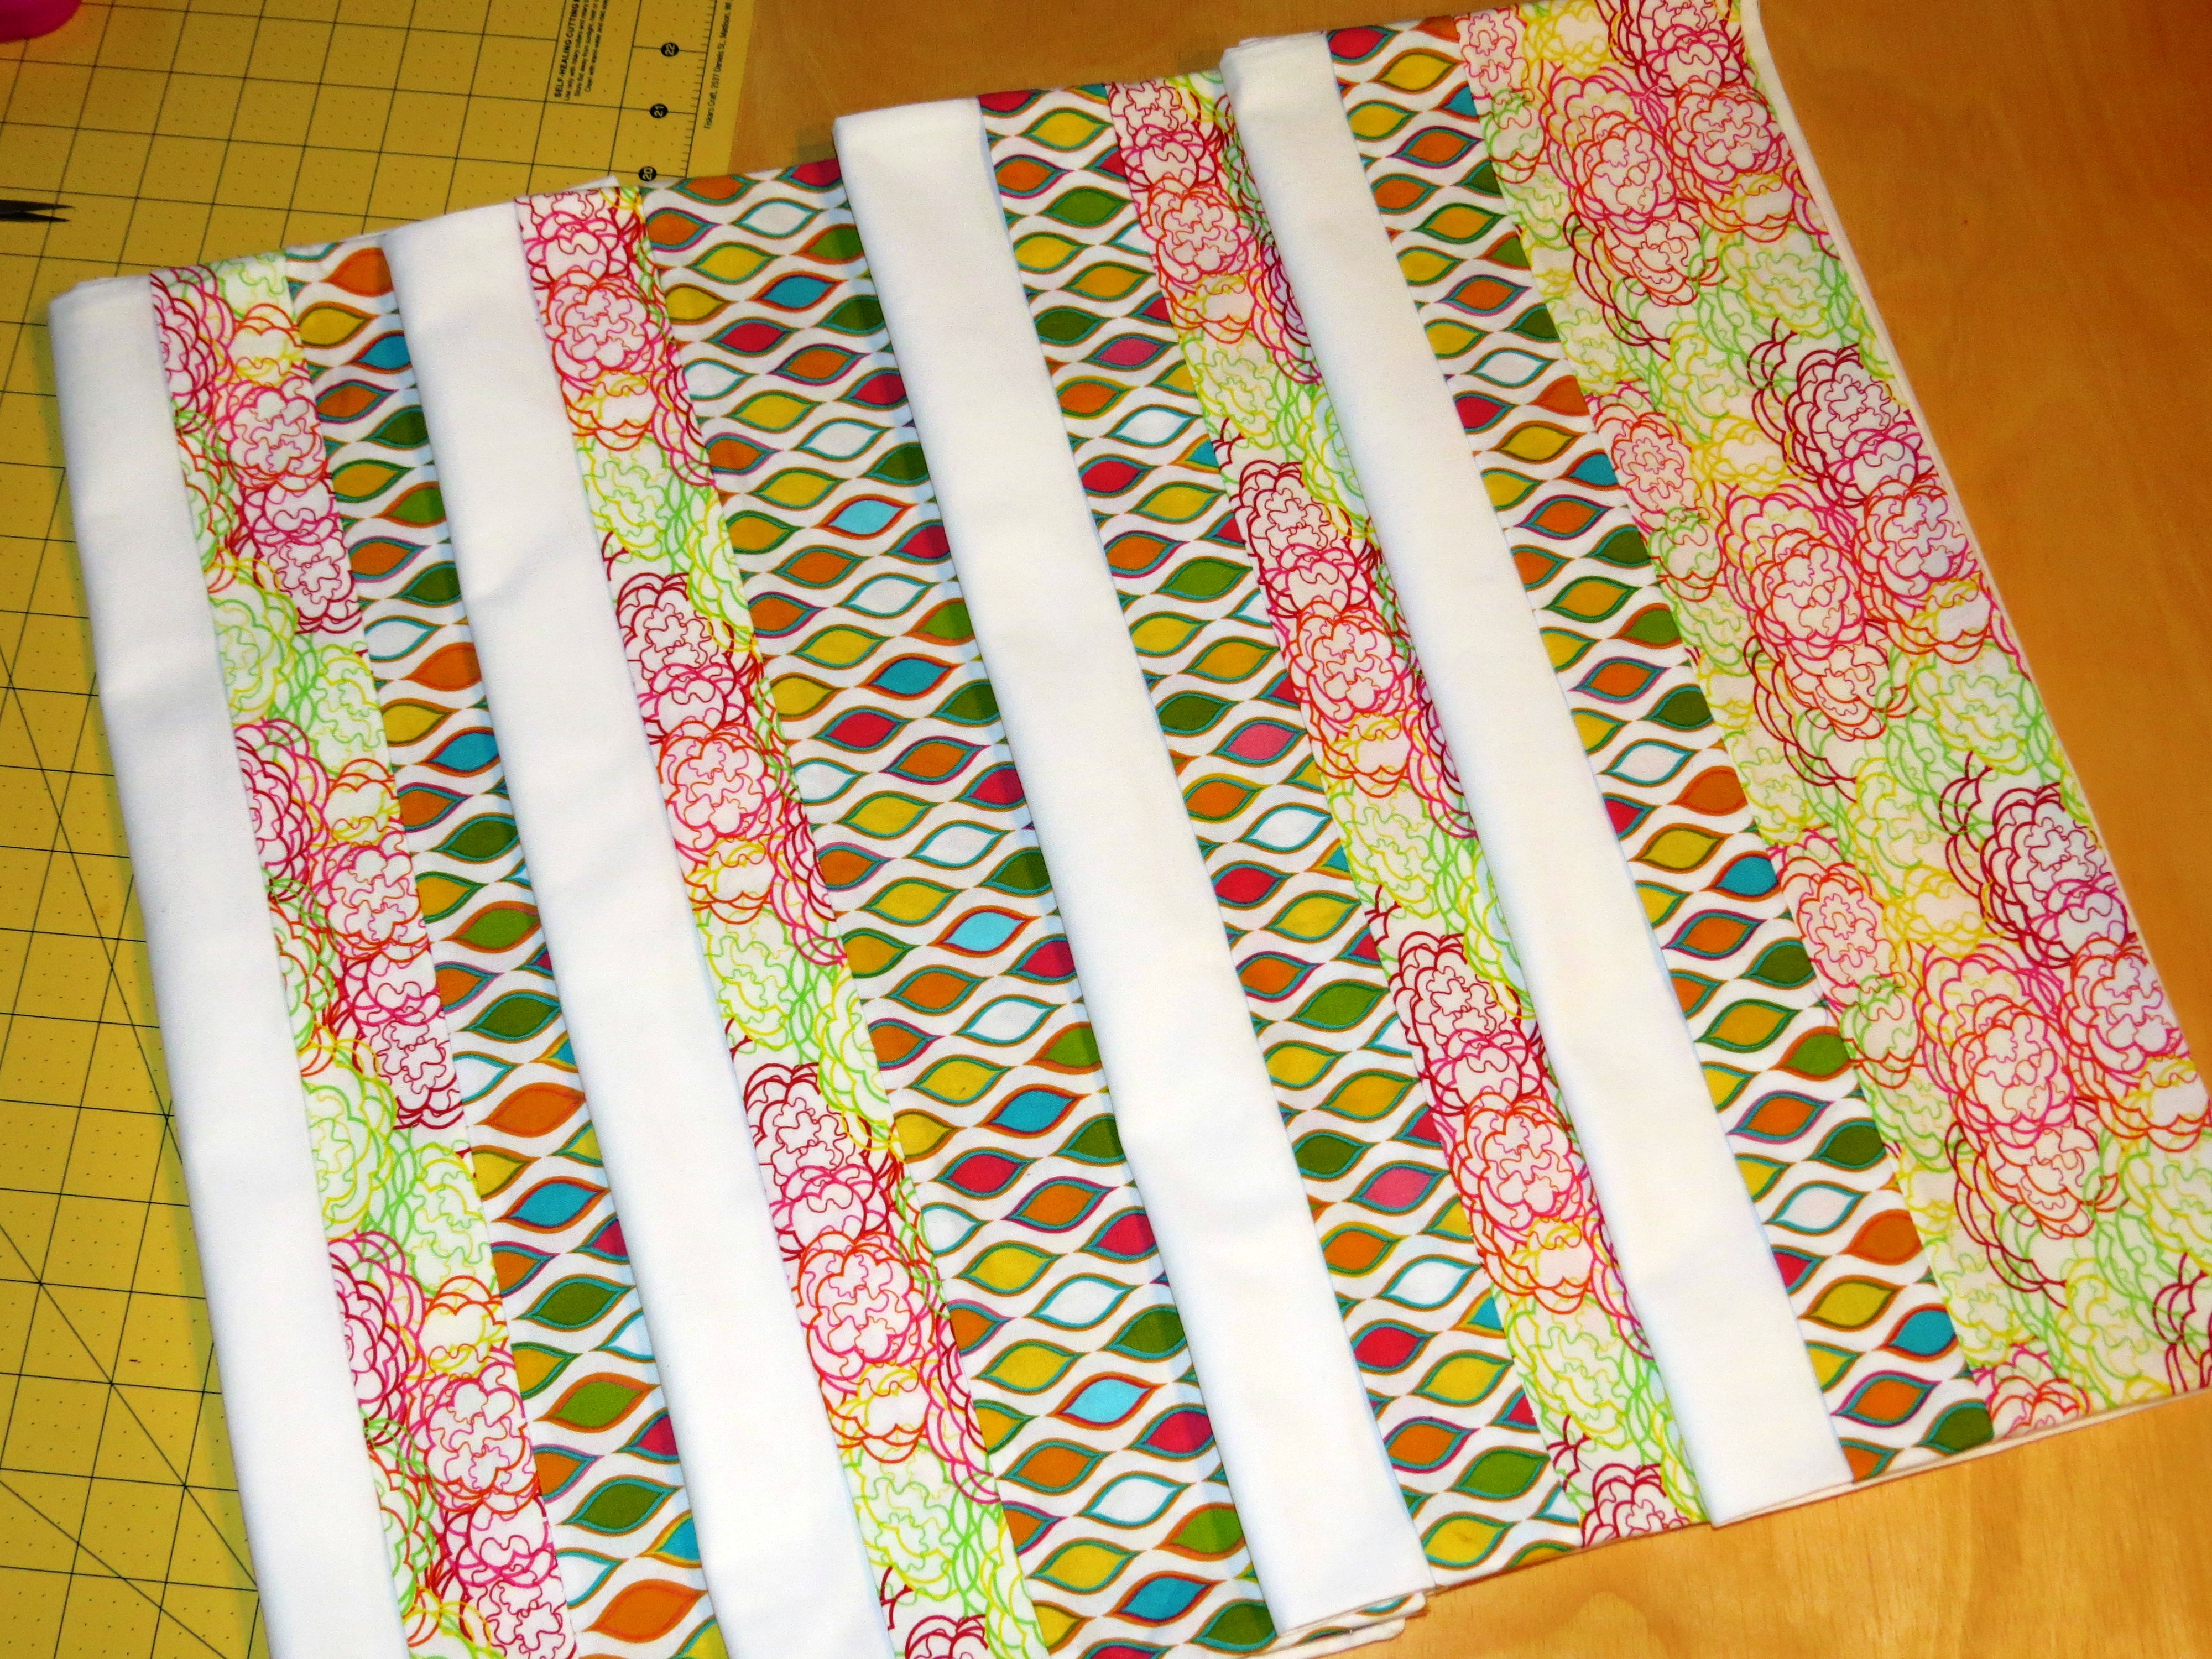
I made four pillowcases. If you’re an experienced sewer you know this pattern as the jellyroll, sausage or burrito pillowcase. The pattern is all over the internet, so I won’t bother with posting the instructions. Instead, I want to focus on these basics; knowing your machine, good sewing posture, and the importance of ironing seams every step of the way.
Know Your Machine
My machine sat idle for a little over a year, and I picked it right up to start sewing again. What I should have done was familiarize myself with it again. If I would have been an experienced sewer, this lapse in time probably wouldn’t have mattered. But, since I was new to sewing I ran into a few hiccups that I wouldn’t have if I would have taken 10-20 minutes to review my manual. Of course it cost me nothing but time, but any time saver when it comes to sewing is helpful.
Good Sewing Posture
When I took my first set of sewing classes, we immediately started working on our sewing project. With that, I adopted my own sewing posture. I would sit with my sewing machine practically in my lap. I hunched over the machine using both hands to guide the fabric through the machine. When my sewing teacher saw me sewing this way, she immediately showed me good sewing posture.
The first thing I had to do was sit straight and comfortably in my chair. I also had to move my chair a comfortable distance away from the table and machine. Just far away enough to comfortably hold the fabric. By following these directions I was able to release the tension from my back and I was instantly more comfortable.
I’ve always found guiding fabric through the machine to be challenging. I never related this sewing posture, but it definitely impacts the finished product. I learned the proper way to hold the fabric is to gently hold the fabric with my right hand, pulling it slightly toward me. This provides the slightest tension on the fabric as it is guided through the feed dogs. From this position I have a better view of where the fabric is going and can easily guide it through the machine by gently moving my hand.
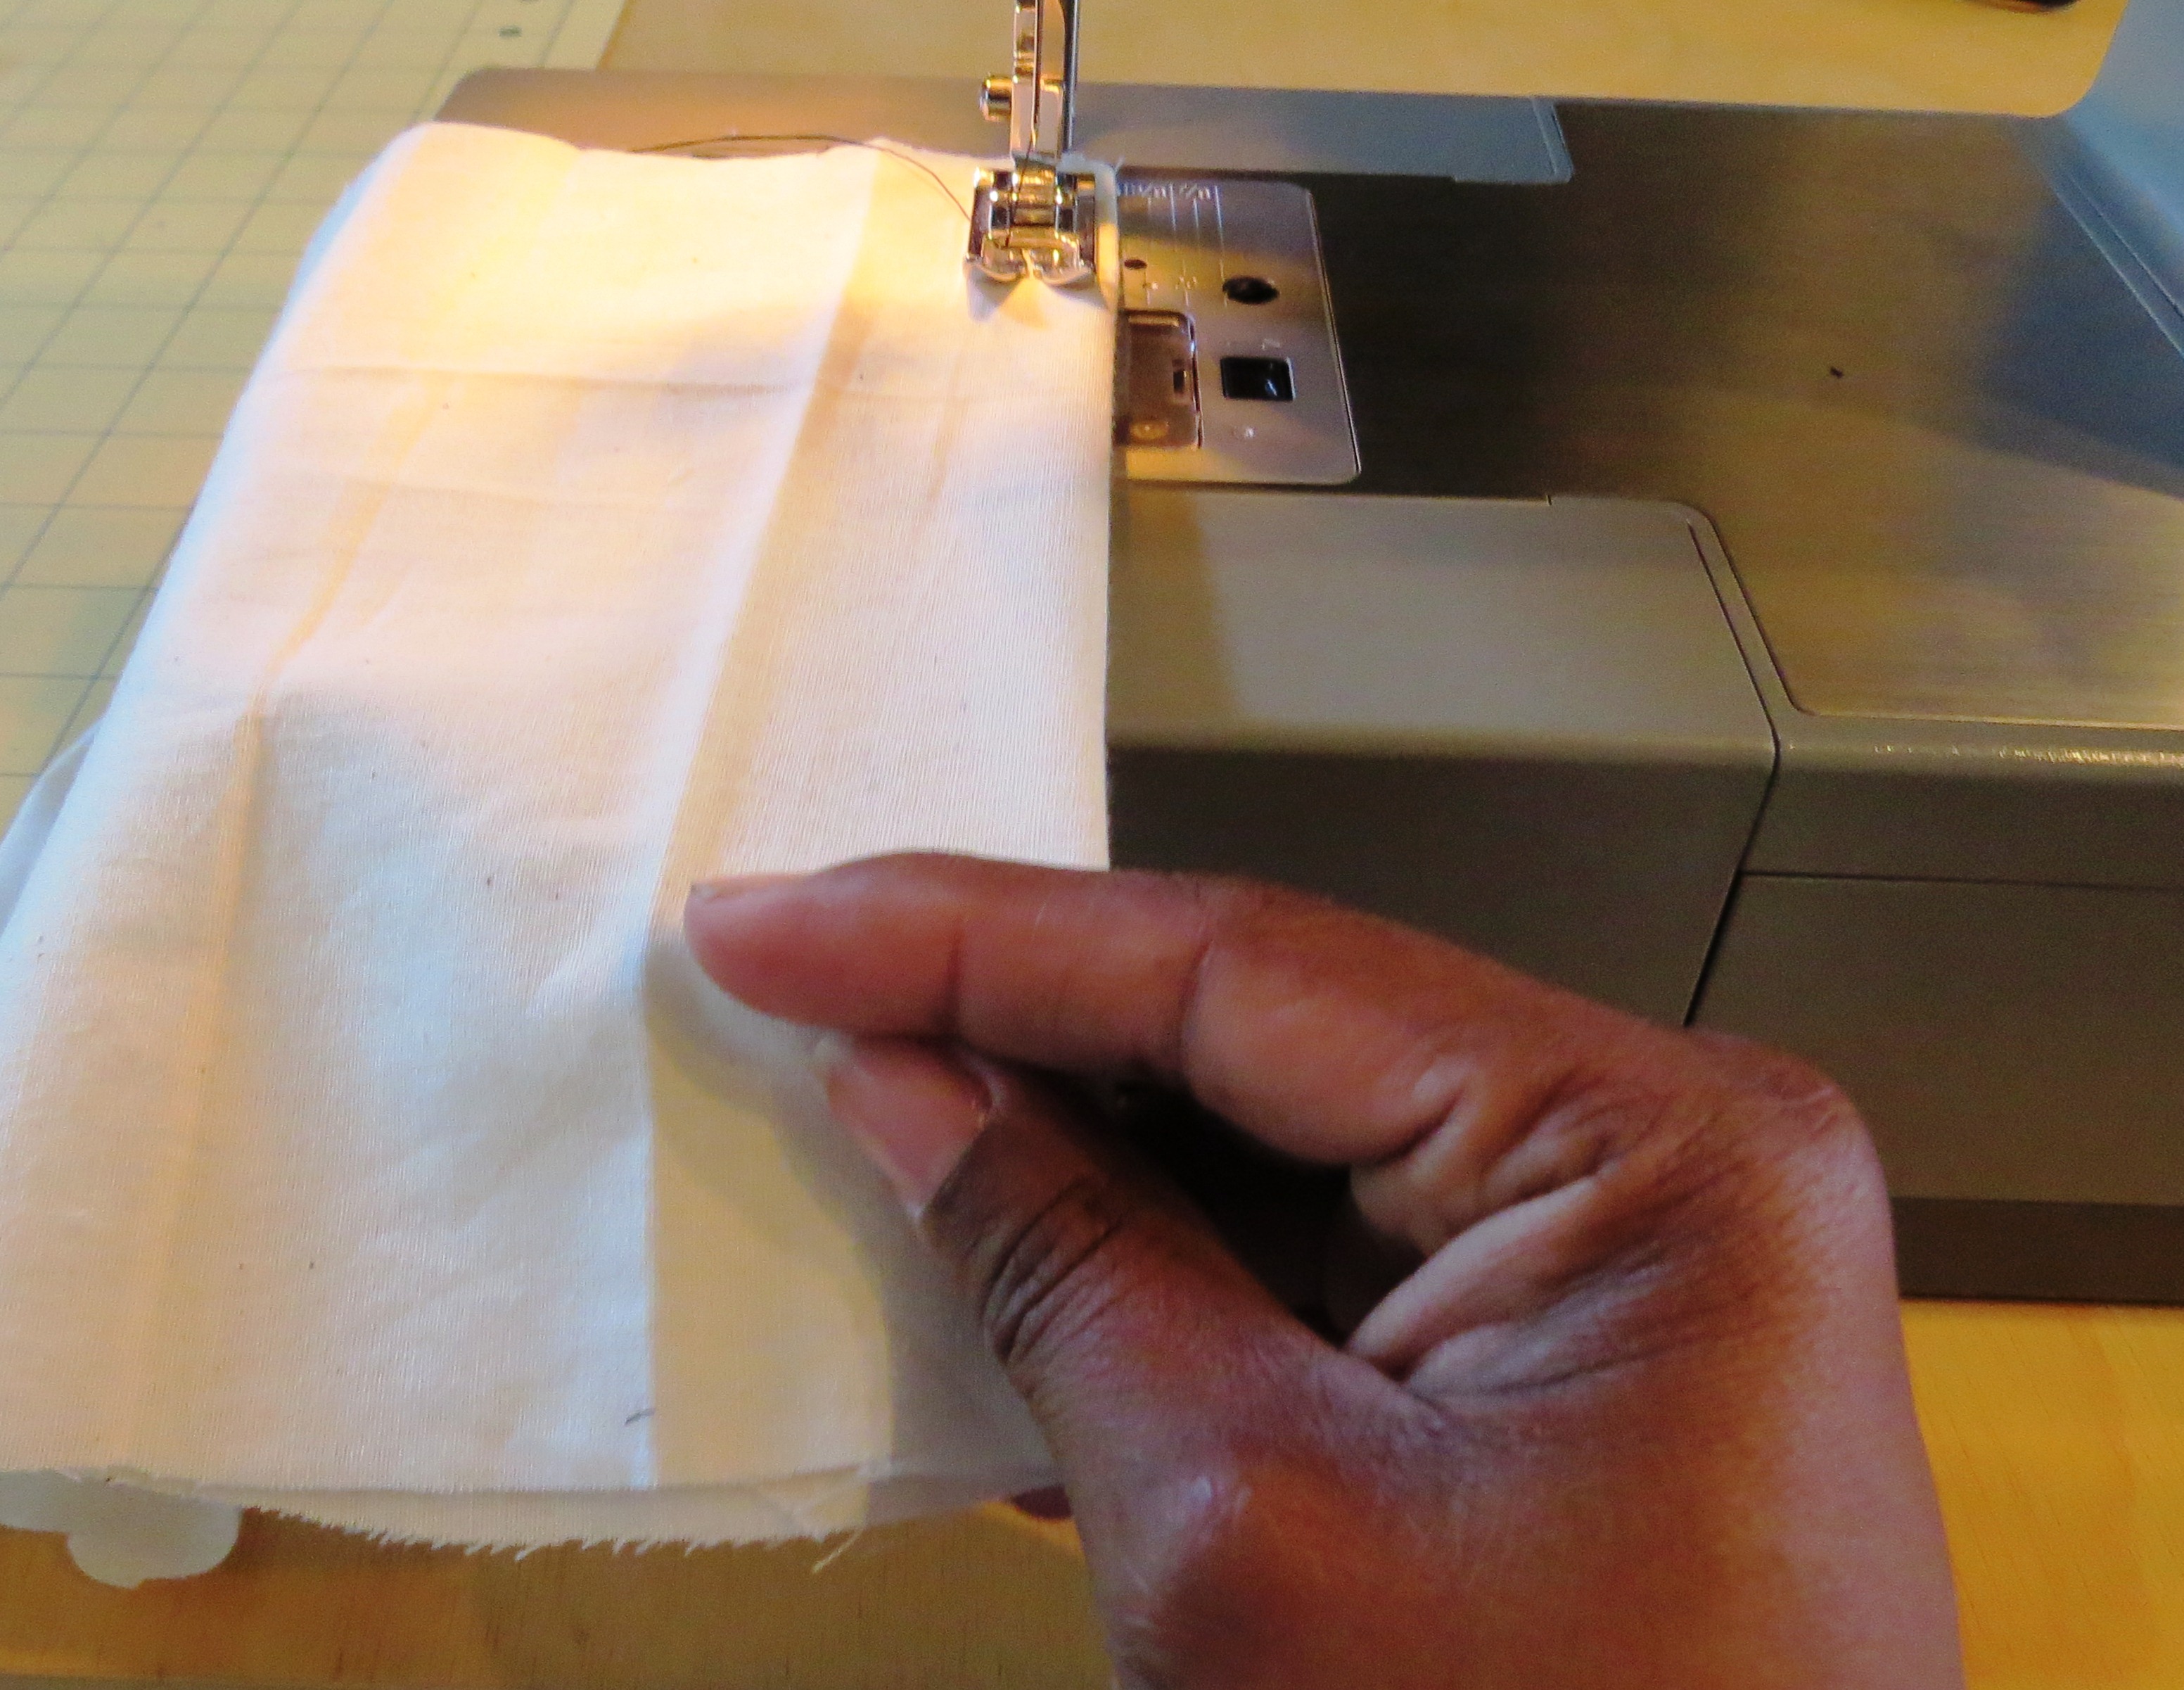
By gently holding the fabric a slight tension is created against the feed dogs. This is also helpful in guiding the fabric through the machine.
The left hand gently guides the fabric as it moves through the feed dogs. There shouldn’t be any tension on the fabric.

Ironing your Seams
A while back I was reading a post on Erica B’s Blog and she mentioned the key to a professional finish on any sewing project is to iron every seam. I have to admit I really noticed the difference on this project.
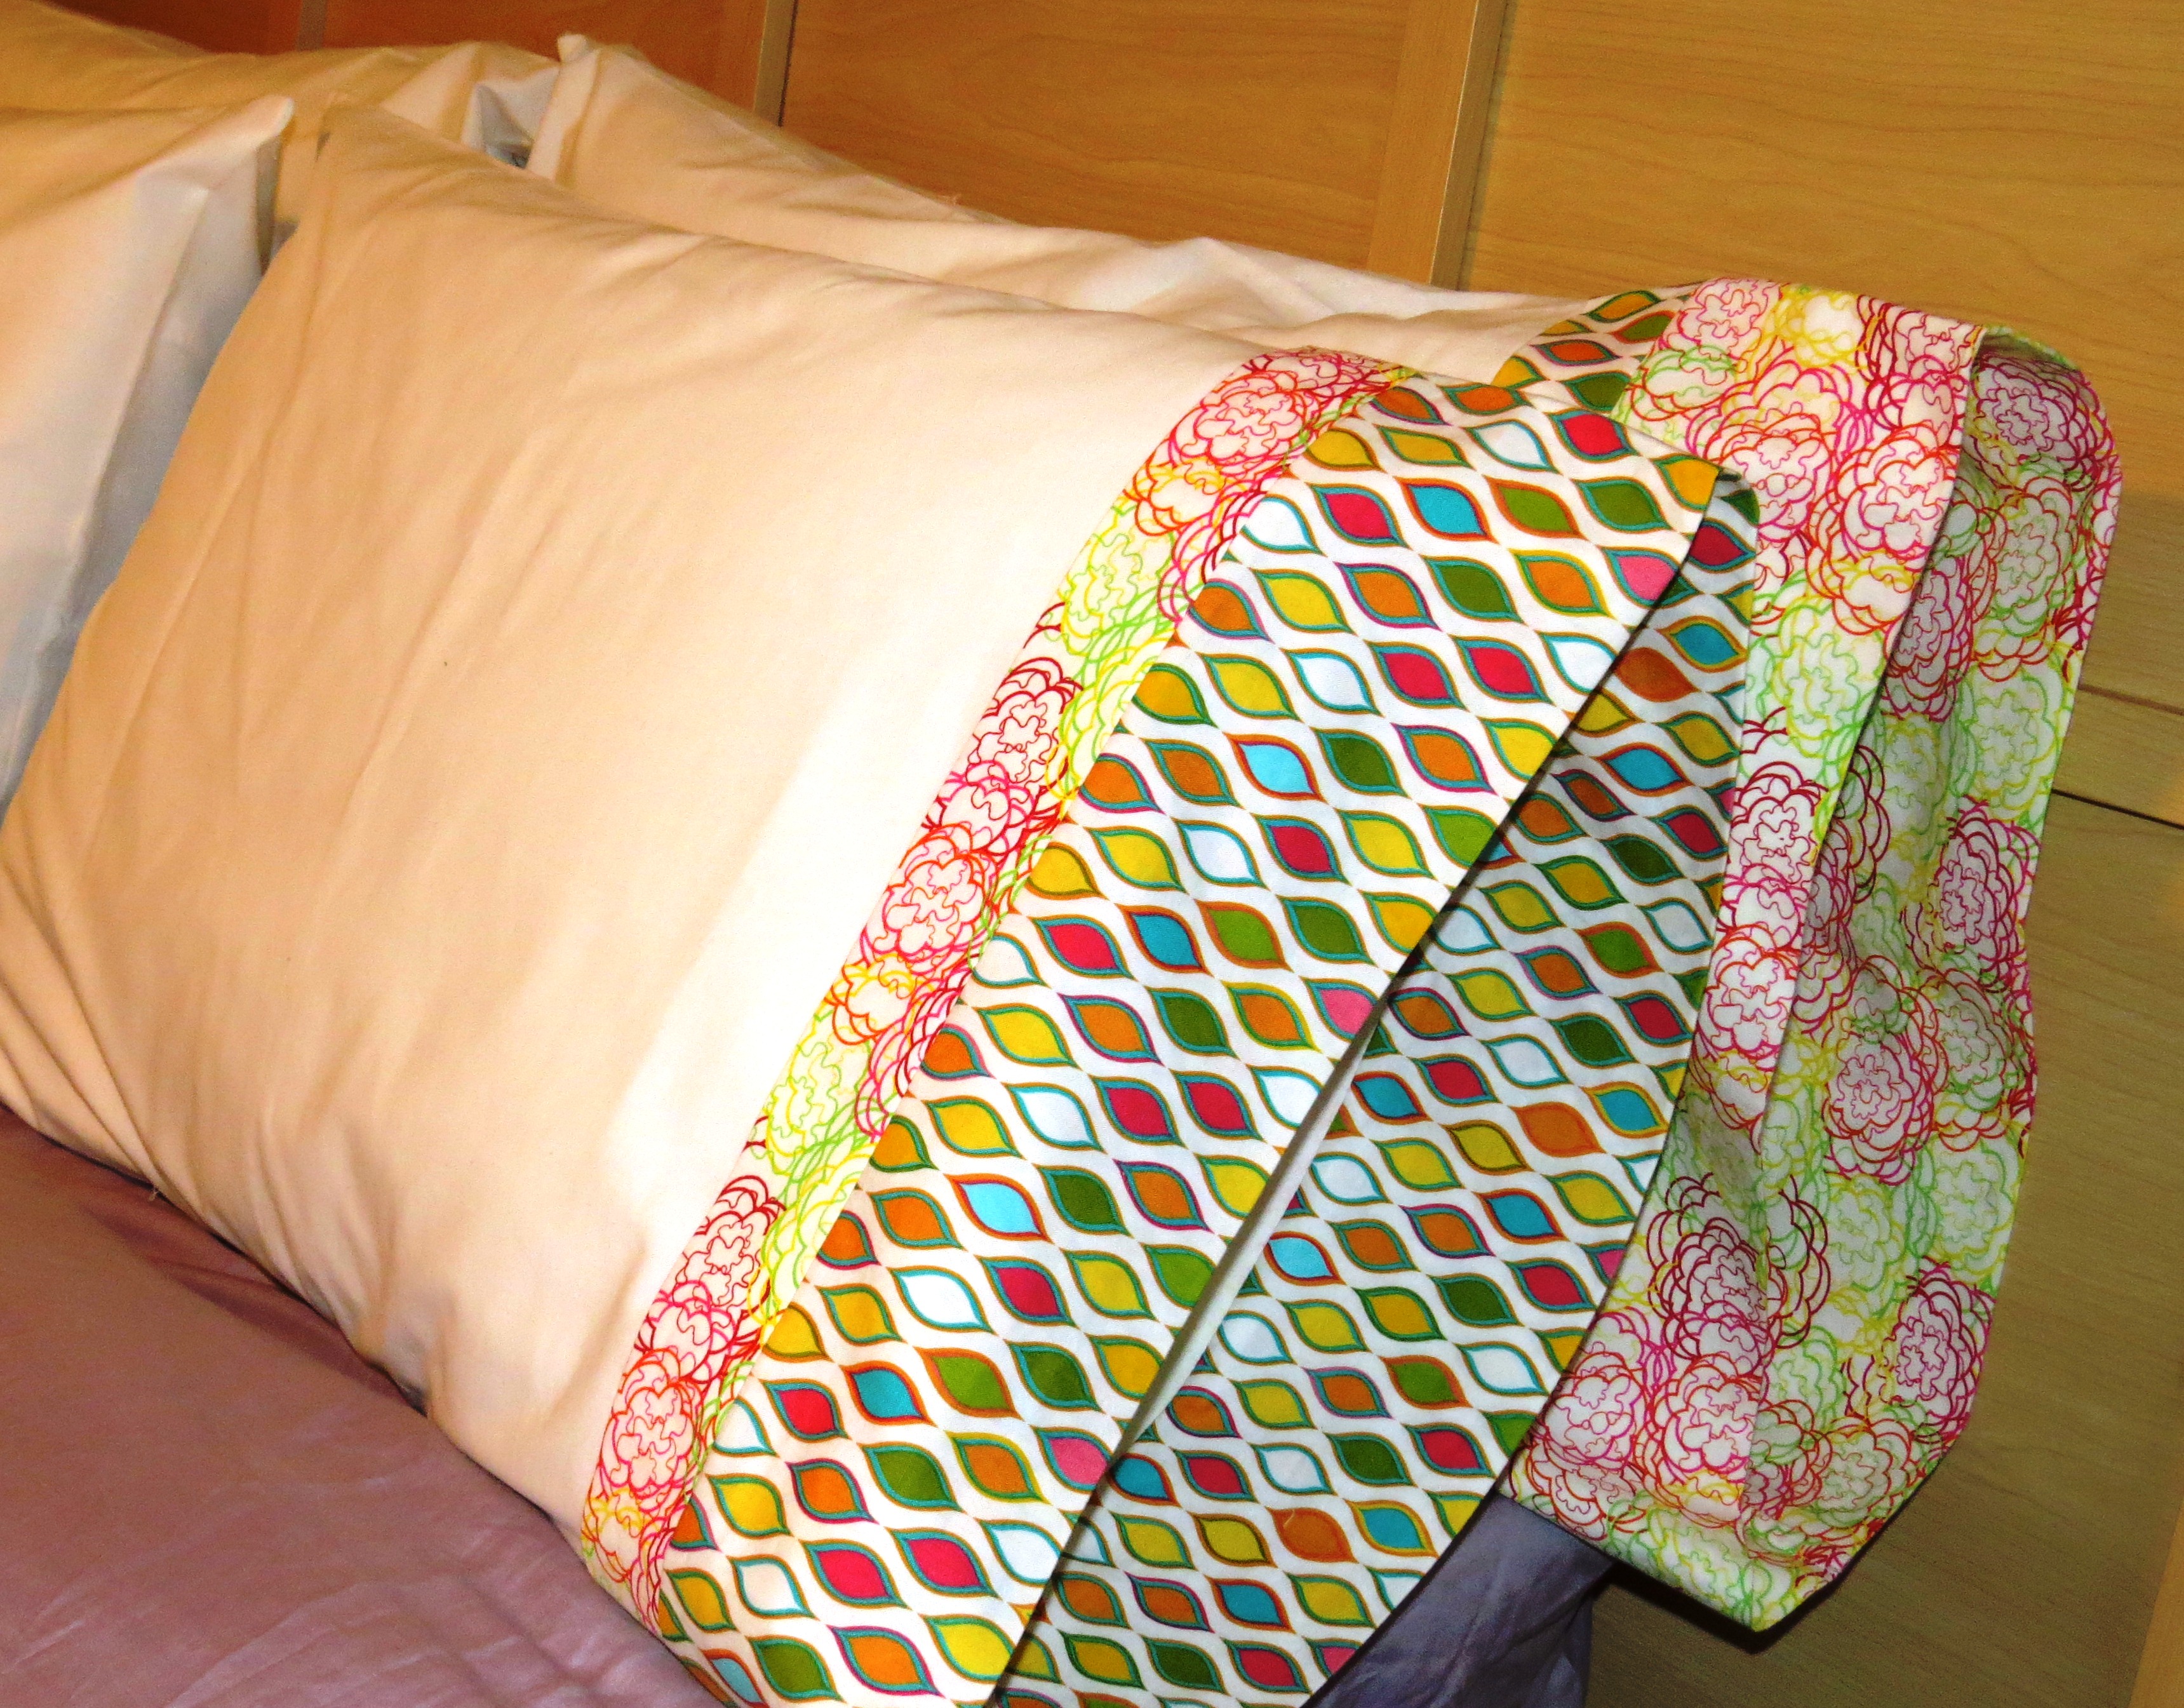
Ironing was key to finishing this project off with French seams. I was careful not to stretch the fabric as I was pressing. I placed the iron directly on the seam with a little steam. Don’t strech the fabric out with a hard press pushing the fabric away from the seam with the hot iron.
Overall I’m very happy with this first project. I’m even happy mixing the prints with the current duvet cover. Now off to the next project. PJ Bottoms! Who knows, my next project may just be a dress or skirt! 🙂

Cool artwork