Happy November everyone! A long, long time ago I blogged my true confessions and a list of my upcoming projects. One of the items in that list was the Beginner Serging class on Craftsy. I have finally, finally completed one of the projects from that class.
Shortly after I found my sewing teacher, I decided I would purchase a serger. After investing the time and effort in making a quality garment, I want to make sure they stand the test of time. I’ve learned from my favorite bloggers that finishing a garment on the inside is just as important as finishing it on the outside. Have you washed something that wasn’t properly finished on the inside. They are a “hot mess” and a pain in my butt to iron. Most importantantly … who wants all of that thread unraveling inside of their garments. Not me, dudes and dudettes.
With that, I purchased the Brother 1034D Serger. Before you judge … no it’s not top of the line. But I had my reasons for purchasing this serger in particular. Being a new sewer (I’m realizing how much I say this line … “I’m new”. I wonder how long I can milk it! LOL!) I wanted to make a sound financial investment and still get a quality machine. I’d read the horror stories of how sergers are difficult to thread and they sit in people’s sewing rooms – unused. I didn’t want to purchase a machine I wouldn’t use. Or … one that was so fancy that I wouldn’t understand how to use it. Bottom line, I needed something easy to thread, easy to learn and would stand the test of time. And last until I become so super-fly in my sewing skills that I need an upgrade. I needed something I could cut my teeth on. This machine meet all of those requirements.
Now onto the Crafsy Class …
Beginner Serging is taught by Amy Alan, and I have to say I’m enjoying Craftsy classes so far. Amy is a good teacher, she’s pleasant to watch, and she builds your confidence as you move through the course. The class is divided into 9 separate lessons. The lessons begin by getting you familiar with the serger and its compenents, then you move to the threading your machine. To be honest with you I was dreading the whole serger threading drama. But with my serger it was pretty easy. The machine came threaded and chained when I pulled it out of the box, so I could literally set it on the table and start serging if I knew how to do that. Ha! Instead, I pulled out my laptop and started my Craftsy course.
I was excited to move onto the stitch lessons. This is where Amy walks you through the machine settings for every basic stitch. The course includes a handout where you notate each tension setting, the differential feed, stitch length and width. Amy also explains the Ws behind each of these stitches. When do you use a specific stitch and on what type of fabric? Why to use certain stitches and the result for doing so. Not only do you build a binder with a sample of each of these stitches … you get a TON of experience threading and re-threading your machine. Every stitch is different. You may use 1 or 2 needles. You may use 3 or 4 threads. I could go on but bottom line … if you make the stitch binder you will get familiar enough with your machine where you are comfortable threading it.
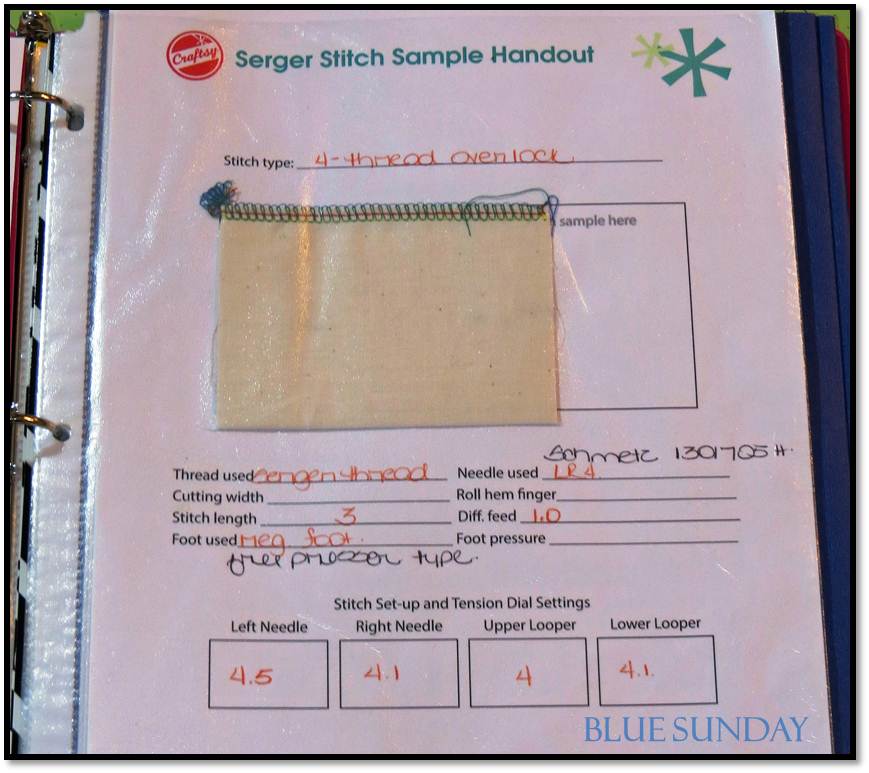
Is it time consuming and tedious? Yes. Worth it? Absolutely. The binder is great because you have a record of those perfect stitch settings. When things go wonky … (and if I know anything about sewing … things will go wonky) you have a record of those settings. A base line. If you plan on using your serger, why wouldn’t you go through the trouble of getting familiar with it? Once you have mastered the basic stitches, the course takes you through a series of decorative stitches using yarn, silk ribbon and even rayon. Amy walks you through each one of these stitches while you continue to fill your binder with these stitch samples.
After you’re feeling totally confident Amy takes you through three projects … a zippered bag, scarf, and an apron. I elected to make the zippered bags because I thought they would make great gifts. My friend Cotia calls these custom make-up bags. And really you can use them for almost anything. 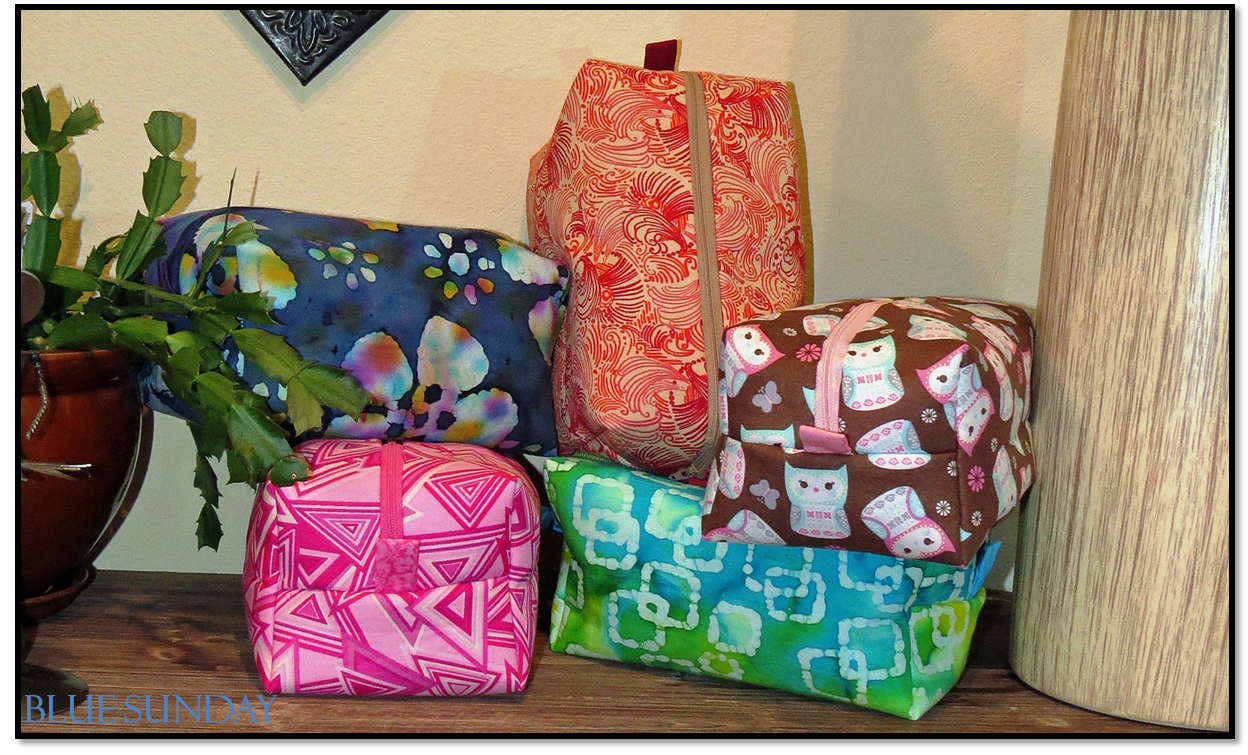
As far as construction, these are fairly simple to assemble. You’ll need two fat quarters … one for the bag’s outer fabric and a second for the lining … a zipper, and fusible fleece. This project is completely constructed using your serger … thought I don’t see any reason you wouldn’t be able to make this using your sewing machine.
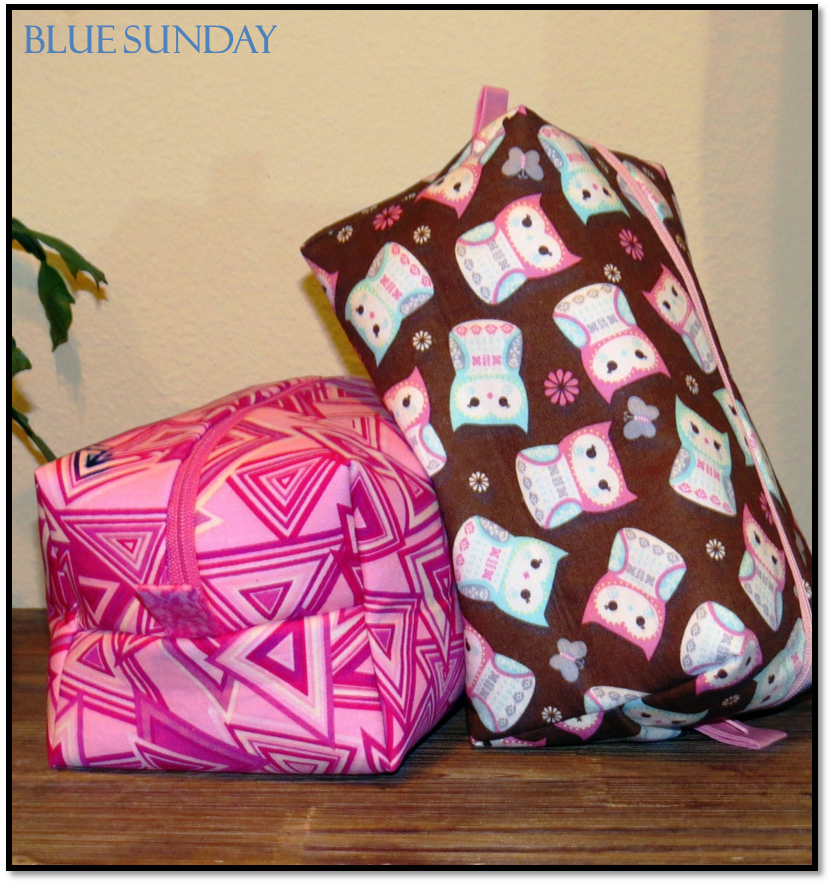
The zipper is exposed, so you can have a lot of fun being creative with your color choices. For the pink and chocolate brown bags above, my cousins Kayla and Kenzie made their own color choices.
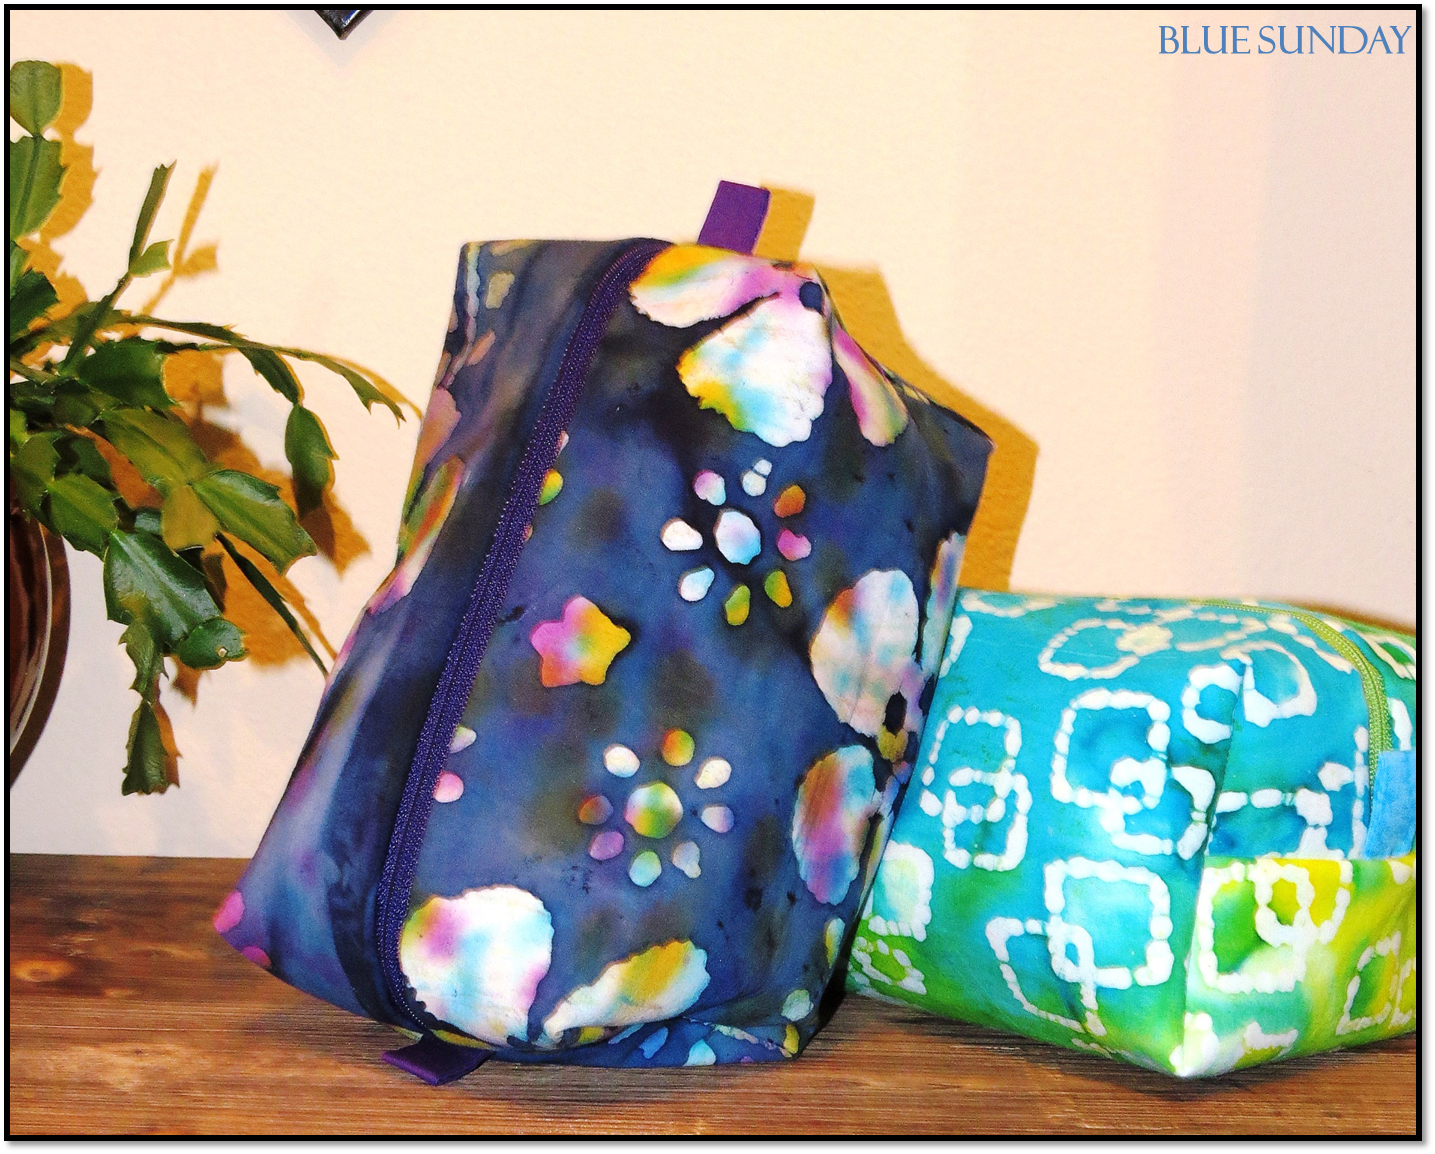
Though the bags look small in the pictures, they have a very nice depth. They can be filled with art supplies, toiletries, just about anything you can think of.

Overall the Craftsy Beginner Serging class was worth the investment. I don’t think I will make the apron that is offered in the class, but I will make the scarf. This class is worth it with the experience you get making the stitch binder alone. I’ll definitely make these bags again. Have you taken a Craftsy class that you love? Spill the tea on your Craftsy experience.

I’ve enrolled in these classes but haven’t finished any projects yet.
Sewing With Knits: 5 Wardrobe Essentials
Design and Sew an A-Line Skirt
Bag-Making Basics: Reversible Tote & Zipper Pouch
Tailoring Ready-to-Wear
Mastering Zipper Techniques
Sewing Machine Feet from A to Z
Sew Ready: Machine Basics
Overall I think their classes are a good deal for the price though considering how much i’ve spent on private lessons and still don’t feel confident about what i’m doing. I really need to practice more….
Hi Felicia, I’m thinking about enrolling in the Sewing with Knits class. I took a class from Linda Lee at a recent sewing Expo and it was a very good class. Maybe I’ll make that my next class. If you happen to have any feedback on the other classes let me know.
Nice to hear from someone else who went with the Brother 1034D and who took the Craftsy class. I just started the class today, and was so happy to finally get my serger properly threaded. Hopefully, I’ll learn enough (quickly enough!) to be able to complete a couple of Christmas gifts. I like your writing style, btw. 🙂
Hi Jeanine – thank you for stopping in!! I appreciate it. Let me know how your Craftsy class goes. It’s challenging but I walked away learning so much!! I hope you enjoy it as much as I do!
I’ve ordered a Brother 1034d and am awaiting its arrival soon. I started the Craftsy serger class last night and I’m glad I started it before I receive my machine…. because I know how excited I can get and I would have jumped in and got it wrong and then would have been frustrated. I’m going to finish the class before I open the serger box. I can’t wait to learn it, though!
Let me know how that goes. I actually stitched while I was taking the course. I’d just pause the video and resume when I needed to. It may be better from a learning aspect to watch the video like you’re doing. Ha! I never take the easy road!!